Introduction
A multi-camera doorbell system is a great addition to any home security setup. It allows you to monitor and record activity at your front door from multiple angles, providing you with enhanced security and peace of mind. In this blog post, we will guide you through the process of setting up a multi-camera doorbell system, ensuring that you can enjoy all the benefits it has to offer.
Step 1: Choose the Right Doorbell System
The first step in setting up a multi-camera doorbell system is to choose the right system for your needs. There are various options available in the market, each with its own set of features and specifications. Consider factors such as the number of cameras you require, video quality, storage options, and integration with other smart home devices. Research and compare different brands and models to find the one that best suits your requirements.
Step 2: Plan Camera Placement
Once you have selected your multi-camera doorbell system, the next step is to plan the placement of the cameras. Ideally, you should position the cameras in a way that provides a clear view of your front door and the surrounding area. Consider areas such as the porch, driveway, and walkway. Take into account any potential blind spots and ensure that all important areas are covered. It may be helpful to draw a diagram or use a mapping tool to visualize the camera placement.
Step 3: Install the Cameras
Now that you have planned the camera placement, it’s time to install the cameras. Follow the manufacturer’s instructions for each camera, ensuring that they are securely mounted and positioned correctly. Depending on the type of system you have chosen, you may need to connect the cameras to a power source or use wireless options. Take care to conceal any visible cables for a clean and professional look.
Step 4: Connect to a Network
After installing the cameras, you will need to connect them to a network. Most multi-camera doorbell systems utilize Wi-Fi for connectivity. Follow the instructions provided by the manufacturer to connect each camera to your home Wi-Fi network. Ensure that you have a strong and stable Wi-Fi signal in the areas where the cameras are installed to avoid any connectivity issues.
Step 5: Set Up the Monitoring System
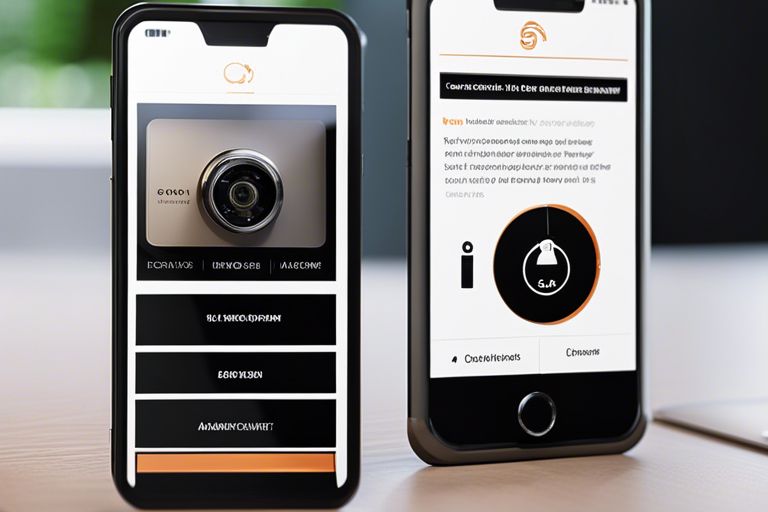
Once the cameras are connected to the network, you can proceed with setting up the monitoring system. This typically involves downloading and installing the manufacturer’s app on your smartphone or tablet. Follow the app’s setup instructions to pair the cameras with your device. You may need to create an account and log in to access the camera feed and other features. Familiarize yourself with the app’s interface and settings to make the most of your multi-camera doorbell system.
Step 6: Test and Adjust
After completing the setup process, it’s important to test the system and make any necessary adjustments. Check the camera feeds from your device to ensure that they provide clear and high-quality video. Test the motion detection and notification features to make sure they are working as expected. If you encounter any issues, consult the manufacturer’s troubleshooting guide or contact their support team for assistance.
Conclusion
Setting up a multi-camera doorbell system can greatly enhance your home security. By choosing the right system, planning camera placement, installing the cameras correctly, connecting to a network, and setting up the monitoring system, you can ensure that your multi-camera doorbell system functions optimally. Regularly test and maintain the system to ensure its continued effectiveness in keeping your home safe and secure.


